Tag: Everyday Health Info

  • Sitz Bath Benefits: 3 Correct Ways to Ease Hemorrhoid Pain

    Sitz Bath Benefits: 3 Correct Ways to Ease Hemorrhoid Pain

    SummarySitz bath benefits may help relieve hemorrhoid pain and swelling, but using the wrong water temperature or duration can backfire. This guide covers the correct sitz bath water temperature, timing, frequency, and precautions, based on medical information.

    sitz bath benefits

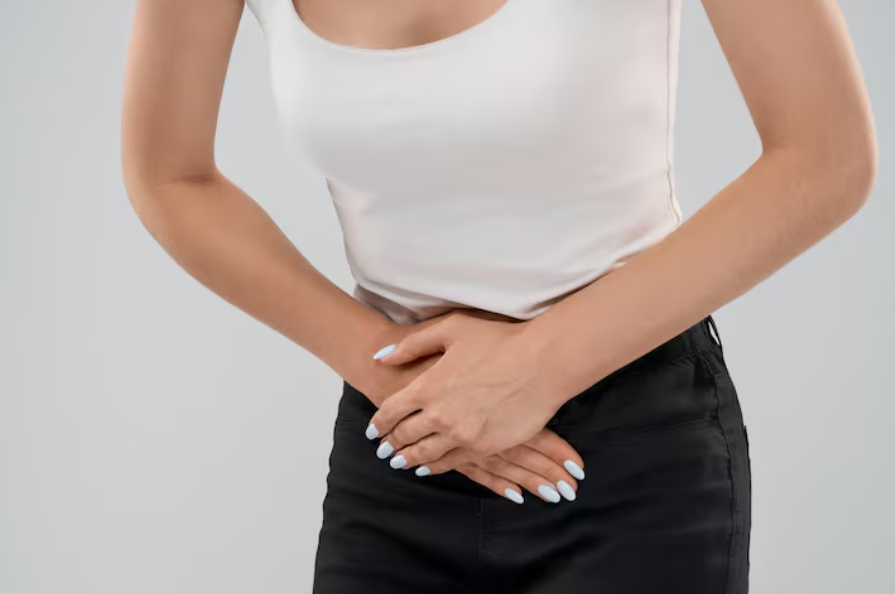
    Do you grit your teeth through a sharp sting and heavy discomfort every time you use the bathroom?

    Many people simply sit in hot water without a second thought,
    but getting the water temperature or timing wrong can actually make symptoms worse.

    From reducing swelling to easing pain, getting the real sitz bath benefits starts with knowing the correct method.

    Key Takeaways
    Sitz bath benefits come from relaxing the anal sphincter and improving blood circulation, which can help reduce hemorrhoid-related pain and swelling.
    The Korea Disease Control and Prevention Agency (KDCA) and related reports recommend water at 104–113°F (40–45°C), for 3–5 minutes per session, 2–3 times a day.
    However, poor posture or inadequate drying afterward can actually make symptoms worse, so care is needed.

    sitz bath benefits image 2

    Sitz Bath Benefits: Do They Really Help Hemorrhoid Symptoms?

    The short answer: sitz baths may help reduce hemorrhoid-related pain and swelling.

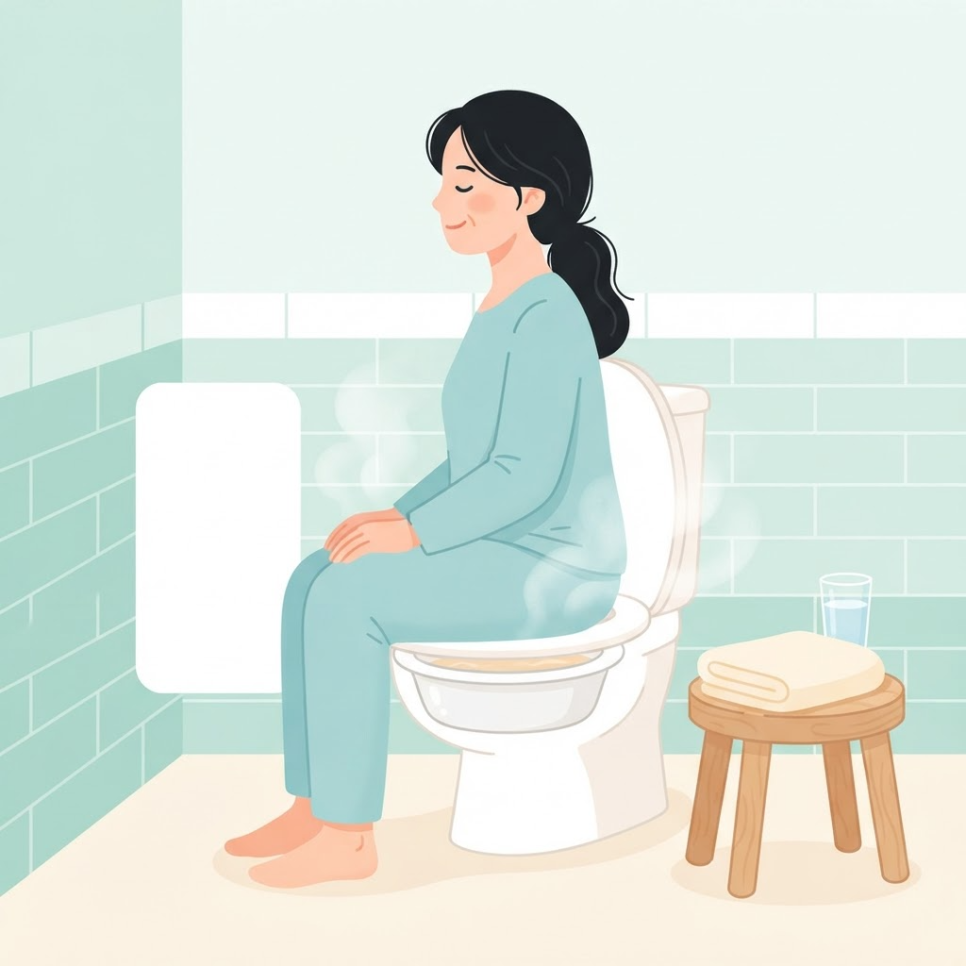
    A sitz bath is a conservative care method that involves soaking the anal area in warm water to support blood circulation.
    The area around the anus is prone to circulation problems during straining or stress.

    When warm water touches the skin, the sphincter relaxes, which lowers internal pressure and muscle spasm and can make bowel movements less painful.
    Improved blood flow in the area can also help bring swelling down.
    sitz bath benefits image 3

    Key Points
    1. Pain reduction through anal sphincter relaxation
    2. Relief of congestion and swelling through improved blood flow
    3. Prevention of secondary infection by keeping the area clean after bowel movements

    The KDCA’s National Health Information Portal describes hemorrhoids as follows:

    Hemorrhoids occur when the blood vessels around the anus stretch and swell to form a lump, making them the most common type of anal condition.

    The KDCA further notes that conservative care such as sitz baths, dietary changes, and medication can help relieve symptoms.

    For early-stage hemorrhoids or anal fissures in particular, a sitz bath is often considered a non-surgical, conservative option worth trying.
    With consistent practice, this may help reduce discomfort after bowel movements, supporting everyday comfort.


    sitz bath benefits image 4

    What Is the Correct Sitz Bath Method and Water Temperature?

    In short, lukewarm water at 104–113°F (40–45°C) for 3–5 minutes, 2–3 times a day, is the generally recommended safe guideline.

    A proper sitz bath keeps to the right water temperature and duration to minimize irritation of the anal mucosa.
    Water that’s too hot can damage the mucosa or even cause burns, so caution is needed.

    1. Fill a basin or sitz bath tub with lukewarm water at about 104–113°F (40–45°C).
    2. Use plain, clean water only—no disinfectant or salt.
    3. Soak the anal area for about 3–5 minutes.
    4. Pat the area dry gently with a towel, or dry it fully with cool air.
    5. Repeat 2–3 times a day, such as right after a bowel movement or before bed.

    sitz bath benefits image 5

    A randomized controlled trial published in an international journal found that patients who had warm-water sitz baths after hemorrhoidectomy
    showed significantly improved pain and anal burning sensation over a 4-week follow-up.

    This suggests that sitz baths are not just a folk remedy—sitz bath benefits have also been reported in clinical research.

    Checklist
    ✅ Is the water lukewarm, at 104–113°F (40–45°C)?
    ✅ Are you keeping the time under 5 minutes?
    ✅ Are you using plain, clean water with no additives?
    ✅ Are you drying the area thoroughly afterward?
    sitz bath benefits image 6

    Soaking for too long can raise pressure in the anal blood vessels and may actually worsen symptoms.
    The table below compares the correct method with habits to avoid.

    Category Recommended Habits to Avoid
    Water temperature 104–113°F (40–45°C), lukewarm Hot water
    Duration 3–5 minutes 10+ minutes (prolonged soaking)
    Additives Plain water only Adding salt or disinfectant
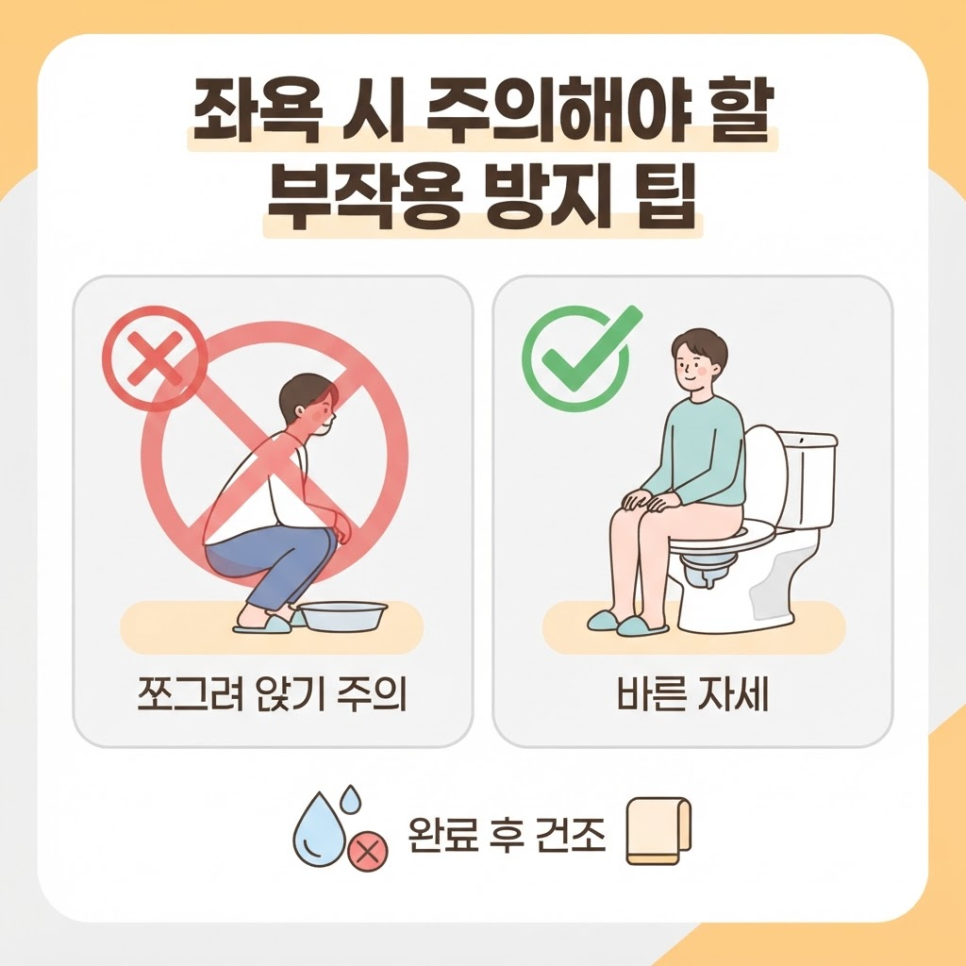
    Posture Sitting flat and level Squatting

    sitz bath benefits image 7

    What Precautions Should You Take During a Sitz Bath?

    In short, poor posture and inadequate drying are the main reasons a sitz bath can backfire.

    Squatting during a sitz bath can cause blood to pool in the anal area, raising the risk that hemorrhoids protrude further.
    It’s better to use a sitz bath basin that fits over the toilet, or to sit comfortably on a flat surface.

    Leftover moisture also raises the chance of skin issues such as eczema or itching.
    After a sitz bath, keeping the area dry and well-ventilated is especially important.

    Precautions
    Avoid squatting, since it increases pressure on the anus.
    If you have heavy discharge or have recently had surgery, follow your doctor’s guidance on whether a sitz bath is appropriate.

    sitz bath benefits image 8

    If symptoms persist or acute pain develops, don’t try to manage it with self-care alone.

    In these cases, it’s important to get an accurate diagnosis and ongoing care from a medical professional.
    If you’re in the Ansan area, consulting a specialized clinic for colorectal and anal conditions, such as the [Ansan Yeolin Surgical Clinic] homepage,
    is also an option.

    Small daily habit changes are the first step toward protecting your anal health.
    By keeping the right water temperature and timing and staying consistent, you may notice the sitz bath benefits over time.

    Frequently Asked Questions

    1. Does using a showerhead with warm water give the same sitz bath benefits?
    Strong shower water pressure can irritate the anal mucosa or sphincter. Soaking in a basin or sitz bath tub is generally considered a gentler approach that may reduce irritation.

    2. How many times a day should you do a sitz bath?
    Two to three times a day is generally appropriate. Doing it right after a bowel movement or before bed can help ease pain and keep the area clean.

    3. Does adding salt to the water improve disinfection?
    Adding salt can strongly irritate sensitive anal skin. It’s safer to use plain water with no additives.

    4. Is it okay to take a sitz bath during your period?
    During your period there’s a higher risk of infection, so it’s best to avoid sitz baths if possible. If needed, a light warm-water rinse is a safer alternative.


    References

    · Korea Disease Control and Prevention Agency (KDCA), “National Health Information Portal – Hemorrhoids,” KDCA. View source
    · Hankyung (Korea Economic Daily), “Sitz Baths That Last Too Long Can Worsen Hemorrhoids… 3–5 Minutes Is Ideal,” Hankyung, 2014. View source
    · Hidoc, “Have You Tried a ‘Sitz Bath’ to Prevent Hemorrhoids and Constipation?,” Hidoc. View source
    · National Library of Medicine (PubMed), “Effects of early warm water sitz bath on urinary retention and pain after haemorrhoidectomy: A randomized controlled trial,” 2024. View source


    This article is intended for general health information purposes only and is not a substitute for individual diagnosis or treatment. If you have symptoms, please consult a medical professional.

  • Constipation After Colonoscopy: Why 3 Days With No Bowel Movement Is Often Normal

    Constipation After Colonoscopy: Why 3 Days With No Bowel Movement Is Often Normal

    SummaryWorried because it’s been 3 days with no bowel movement after your colonoscopy? This guide covers the medical causes behind constipation after colonoscopy, typical recovery timelines, hydration tips, dietary adjustments, and the warning signs that mean it’s time to see a doctor. Check it out below.

    You scheduled your health checkup and got through the colonoscopy without any issues,
    but the next day your lower abdomen feels heavy and there’s no sign of a bowel movement — does that sound familiar?

    You cleared your bowels out completely the day before the exam,
    so it’s only natural to worry when three days pass with still no results.

    But constipation after colonoscopy is generally considered a natural part of the recovery process.

    Constipation after colonoscopy

    This article explains the medical causes of constipation after colonoscopy
    and how to get your bowel movements back on track.

    Let’s go through everything step by step — from hydration tips and dietary adjustments to the warning signs that call for medical attention.

    Key Points
    ✔ Constipation after colonoscopy is usually a temporary effect of the bowel prep solution, and it often resolves within 2 to 4 days.
    ✔ Drinking lukewarm water and eating a gentle diet are generally recommended to help support your bowels’ recovery.
    ✔ If there’s no bowel movement for more than 4 days along with fever or bloody stool, contact your doctor right away.

    Constipation after colonoscopy - image 2

    What Causes Constipation After Colonoscopy?

    The short answer: the bowel prep solution you took before the exam
    flushes out both the water and the beneficial bacteria in your gut all at once.

    Constipation after colonoscopy is a temporary delay in bowel movements
    that occurs while your gut, having been completely emptied, works on producing new stool.

    Bowel prep solutions work by triggering intense fluid loss in a short amount of time.

    In the process, not just waste but also the beneficial bacteria and moisture layer that kept your intestinal lining flexible get washed away too.

    Constipation after colonoscopy - image 3

    Key Points
    ✔ According to related research, gut microbial counts can drop to as little as one-third of normal levels right after taking a bowel prep solution.
    ✔ The same research found that it can take two weeks or longer for the microbial balance to return to pre-exam levels.

    Since your gut is completely empty, it can take at least 24 to 48 hours — sometimes several days longer — for newly eaten food to form into stool.

    The air pumped into your colon during the procedure to help doctors examine the intestinal walls can also temporarily slow bowel contractions, which is another contributing factor.


    How Can You Help Your Bowels Recover Faster?

    Managing constipation after colonoscopy starts with soothing, not stimulating, your gut.
    Rather than reaching for an over-the-counter laxative out of frustration,
    the first step should be soothing your intestinal lining with plenty of fluids.

    Bowel motility recovery is the process of rehydrating dehydrated intestinal tissue
    so stool can move smoothly instead of hardening.

    Constipation after colonoscopy - image 4

    Using a stimulant laxative right away on intestinal lining that’s still sensitive
    can actually add more strain, so it’s best to hold off.

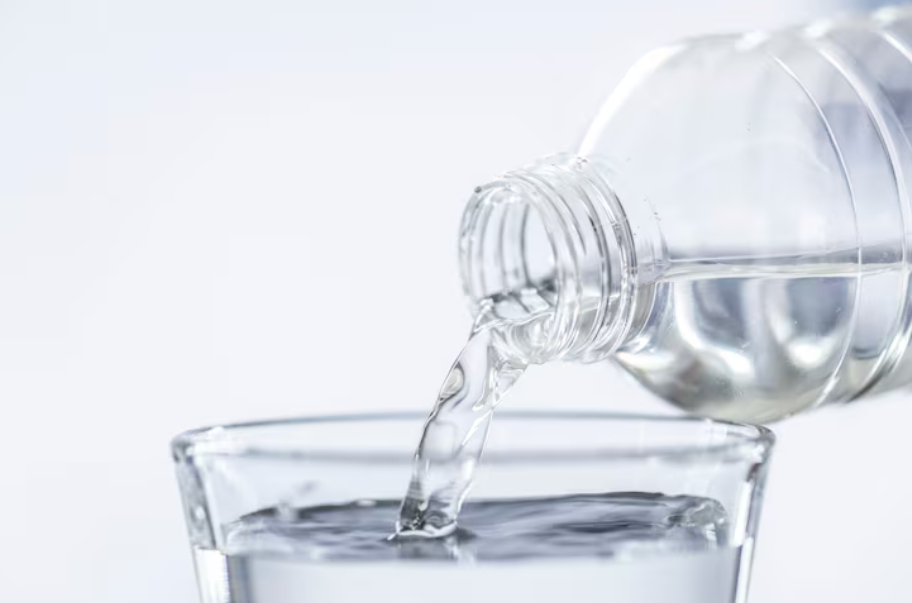
    A basic approach that can help is drinking at least 1.5 liters of lukewarm water a day, spread across several servings.

    Constipation after colonoscopy - image 5

    Checklist
    ✅ Drink at least 8 glasses of lukewarm water spread throughout the day
    ✅ Start with soft porridge or rice water on the day of the exam and the day after
    ✅ Take light walks to encourage intestinal motility
    ✅ Try to have regular bowel movements without straining too hard
    Result
    👍 Consistently staying hydrated and taking light walks can help normalize bowel movements within 2 to 3 days.

    Lukewarm water is gentler than cold water
    and helps prevent intestinal cramping while providing mild, comfortable stimulation.

    Light walking can also help promote intestinal motility.


    What Should You Eat After a Colonoscopy?

    Diet plays a big role in constipation after colonoscopy recovery.
    Some people, relieved that the exam is over, jump straight into spicy or greasy food,
    but this can strain your emptied-out gut and lead to indigestion, trapped gas, and further delays.

    A recovery-phase diet means gradually transitioning back to your normal diet
    through easy-to-digest foods that reduce the burden on your gut.

    Constipation after colonoscopy - image 6

    That said, tough insoluble fiber
    can actually cause clumping if your bowel motility hasn’t recovered yet.

    So in the early stages, it’s safer to stick to gentle, low-irritation foods like those listed below.

    Stage Recommended Foods Foods to Avoid
    First 1–2 days Porridge, rice water, cooked vegetables Spicy food, fried food, carbonated drinks
    After day 3 Soluble fiber, probiotic foods Alcohol, spicy seasonings

    Spicy food, carbonated drinks, and alcohol
    can interfere with your gut’s recovery, so it’s safest to avoid them for at least 3 days.


    What Extra Precautions Are Needed After Polyp Removal?

    If you also had a polyp removed during your procedure,
    preventing bleeding should take priority over general constipation management.

    Post-polypectomy precautions are guidelines for avoiding actions that raise abdominal pressure
    while the removal site heals, in order to prevent bleeding.

    Precautions
    ⚠ If the removed area was large or there were multiple polyps, your doctor may recommend avoiding heavy lifting, running, hiking, and abdominal exercises for at least 1 to 2 weeks.
    ⚠ Straining too hard during a bowel movement raises abdominal pressure and can cause delayed bleeding.
    ⚠ A small amount of blood can be normal, but if bleeding continues or is accompanied by black stool or dizziness, contact your doctor immediately.

    Rather than straining hard just because a bowel movement feels difficult,
    it’s safer to soften your stool with fluids and probiotics.

    If you have other surgical questions beyond gut health,
    the Ansan Open Surgery Hospital homepage, a burn treatment specialist, also offers additional medical information you can check out.

    Constipation after colonoscopy - image 7


    Frequently Asked Questions

    1. It’s been 3 days since my exam and I still haven’t had a bowel movement. Is that dangerous?
    Since your gut was completely emptied, constipation after colonoscopy is normal for about 2 to 4 days while new stool forms. If you don’t have other symptoms like abdominal pain or vomiting, it’s fine to wait a bit longer while drinking more fluids.

    2. Can I just take an over-the-counter laxative right away?
    Using a stimulant laxative on intestinal lining that’s still sensitive isn’t recommended. Rather than self-medicating, it’s safer to encourage bowel movement naturally through hydration and light exercise, and consult your doctor if needed.

    3. I had a polyp removed — is it okay to strain during a bowel movement?
    Raising abdominal pressure too much while the removal site is healing carries a risk of bleeding. Avoid straining hard, and instead help stool pass smoothly with fluids and probiotics.

    4. How long is it normal for constipation after colonoscopy to last?
    Bowel movements usually resume within 2 to 4 days, though in some cases it can take up to 1 to 2 weeks for bowel function to fully stabilize. If it lasts longer than that or symptoms get worse, you should see a doctor.

    5. What symptoms mean I should see a doctor right away?
    If you go 4 days or more with no bowel movement at all, along with severe abdominal bloating, persistent lower abdominal pain, fever, or bloody stool, you should return to the facility where you had your exam for immediate evaluation.


    References

    · Jalanka J, et al., “Effects of bowel preparation on the human gut microbiome and metabolome,” Scientific Reports (Nature), 2019. View source
    · Byun Seung-ju (Gastroenterologist), “What Causes Constipation After a Colonoscopy?,” Hidoc, 2023. View source
    · “Post-Colonoscopy Gut Microbiota Dysbiosis: Mechanisms, Clinical Consequences, and the Role of Diet in Microbiota Recovery,” Gastroenterology Insights (MDPI), 2025. View source


    This article is intended for general health information purposes only and is not a substitute for individual diagnosis or treatment. Please consult a physician if you have symptoms.

  • Lip Burn Blister: 3 First-Aid Steps to Heal Without Scarring

    Lip Burn Blister: 3 First-Aid Steps to Heal Without Scarring

    SummaryGetting a lip burn blister from hot food or a hot drink can be alarming. This article walks through first-aid steps for a lip burn blister, mistakes to avoid, and when to see a doctor, so you can support healing and help reduce the risk of scarring.

    Most of us have had that moment of taking a sip of hot soup and feeling our lip sting.

    It’s easy to shrug off at first, but a few hours later the lip swells up and a clear blister forms — and that’s when things start to feel serious.

    Here’s the tricky part.

    A lip burn blister can turn into a scar or dark spot fairly easily if you touch or pick at it the wrong way.

    I’ve burned my own lip on hot food before, so I looked into the proper first-aid steps myself and put them together here along with the medical reasoning behind them.

    lip burn blister

    This article covers, in order, how to cool down a lip burn blister right after it happens, habits that can slow healing, and when it’s time to see a doctor.

    Let’s go through safe first-aid steps for a lip burn blister now.

    What’s the right first aid for a lip burn blister right after it happens?

    The key to first aid for a lip burn blister is cooling the area down as quickly as possible.

    If hot food or a hot object has touched your lip, the first thing to do is bring the skin temperature down.

    A surprising number of people reach straight for ice and press it directly on the skin, though.

    Placing ice directly on already-damaged skin adds a sudden temperature shock on top of the burn, which can constrict blood vessels and cut off circulation — causing further, secondary damage.

    In severe cases, this can even lead to frostbite-like tissue damage, so it’s worth being careful.

    lip burn blister first aid image 2

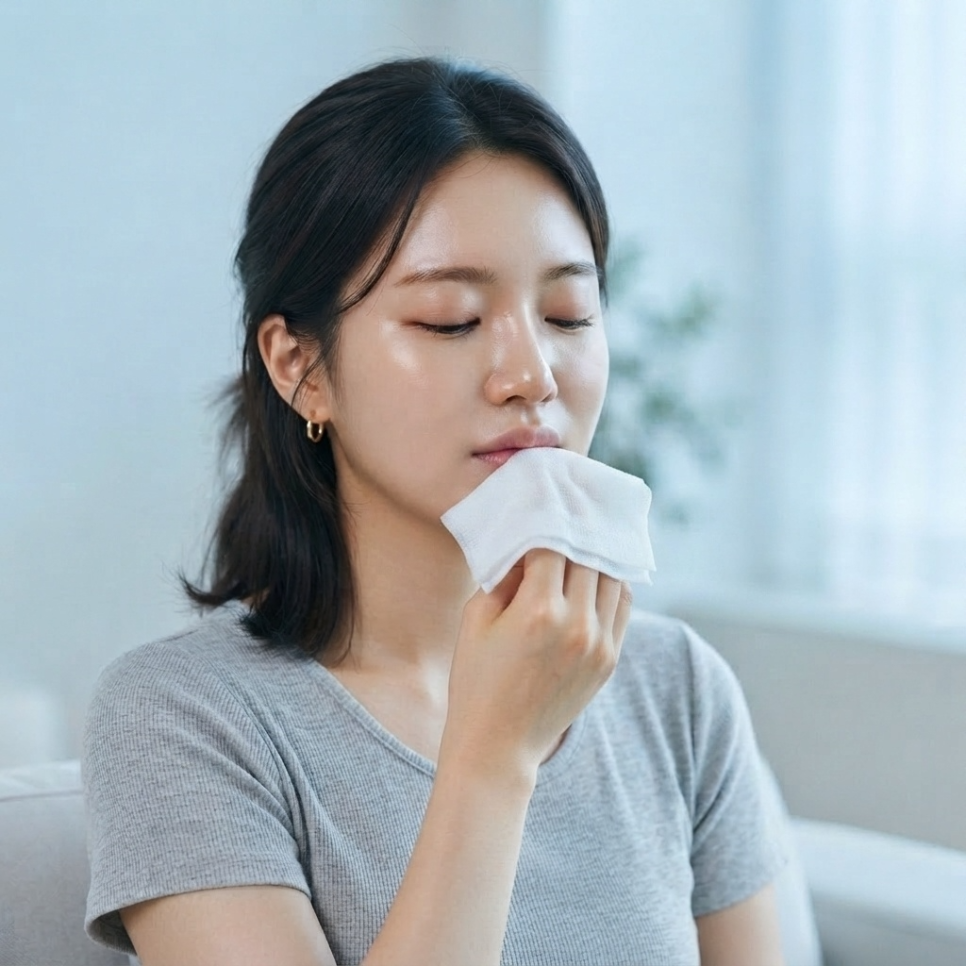
    The right approach is to soak a piece of gauze or a soft cloth in cool water (around 60–75°F) and lay it gently on the lip.

    Don’t rub — just hold it there lightly and give the heat time to ease out gradually.

    When I burned my lip on hot soup, I skipped the rubbing and just held a cool, damp cloth against it, and the pain noticeably eased.

    1. Cool the area for 10–20 minutes with lukewarm running water or gauze soaked in cool water.
    2. Never let ice or ice water touch the skin directly.
    3. Pat the area dry and cover it lightly with clean gauze.
    Key Takeaways
    ✔ Direct ice contact can freeze skin cells and block circulation, leading to secondary damage.
    ✔ Always cool the area gradually with a lukewarm damp cloth instead.

    What should you never do once a blister forms?

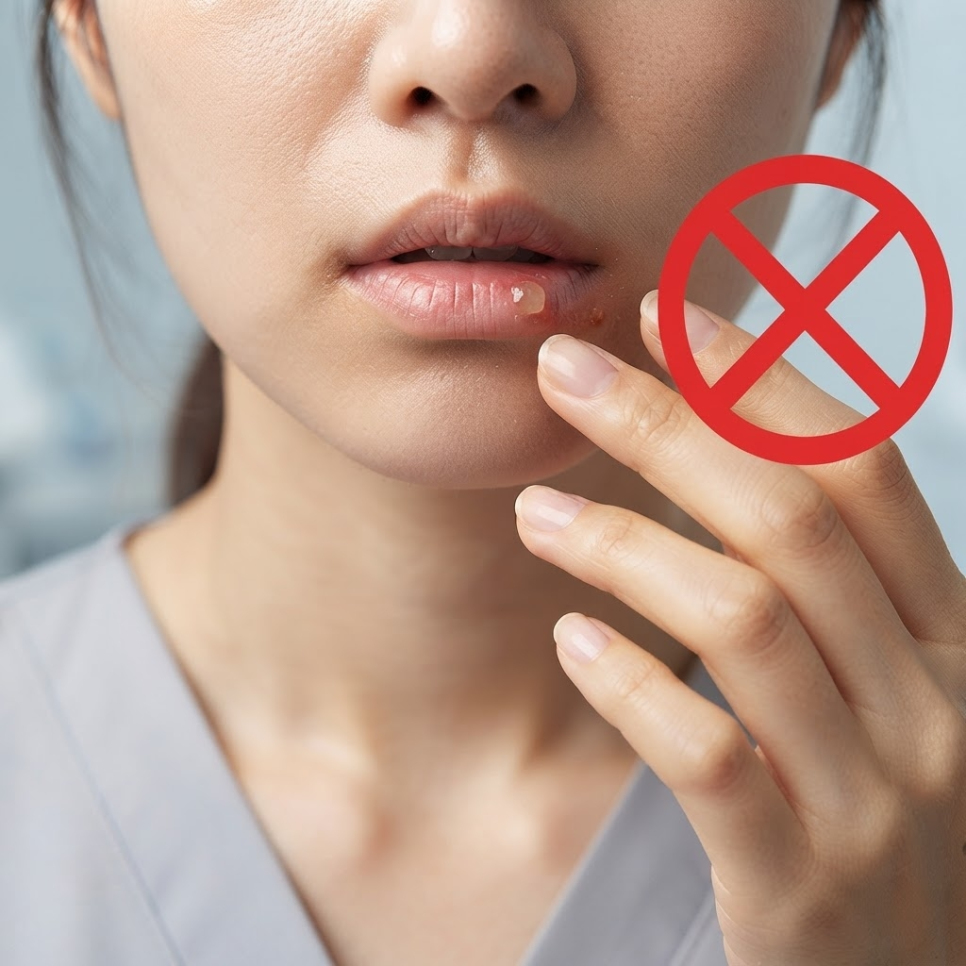
    A lip burn blister is your skin’s natural protective barrier over the damaged area, so you shouldn’t pop it yourself.

    Over time, a clear fluid-filled blister naturally forms on the burned area.

    A surprising number of people end up popping it with their fingers or puncturing it with a needle.

    lip burn blister first aid image 3

    Forcing a blister open raises the risk of a secondary infection.

    It’s safer to leave the blister alone and let it settle or break on its own, since it’s doing the job of protecting the wound underneath.

    Peeling it off yourself makes scarring and dark spots more likely.

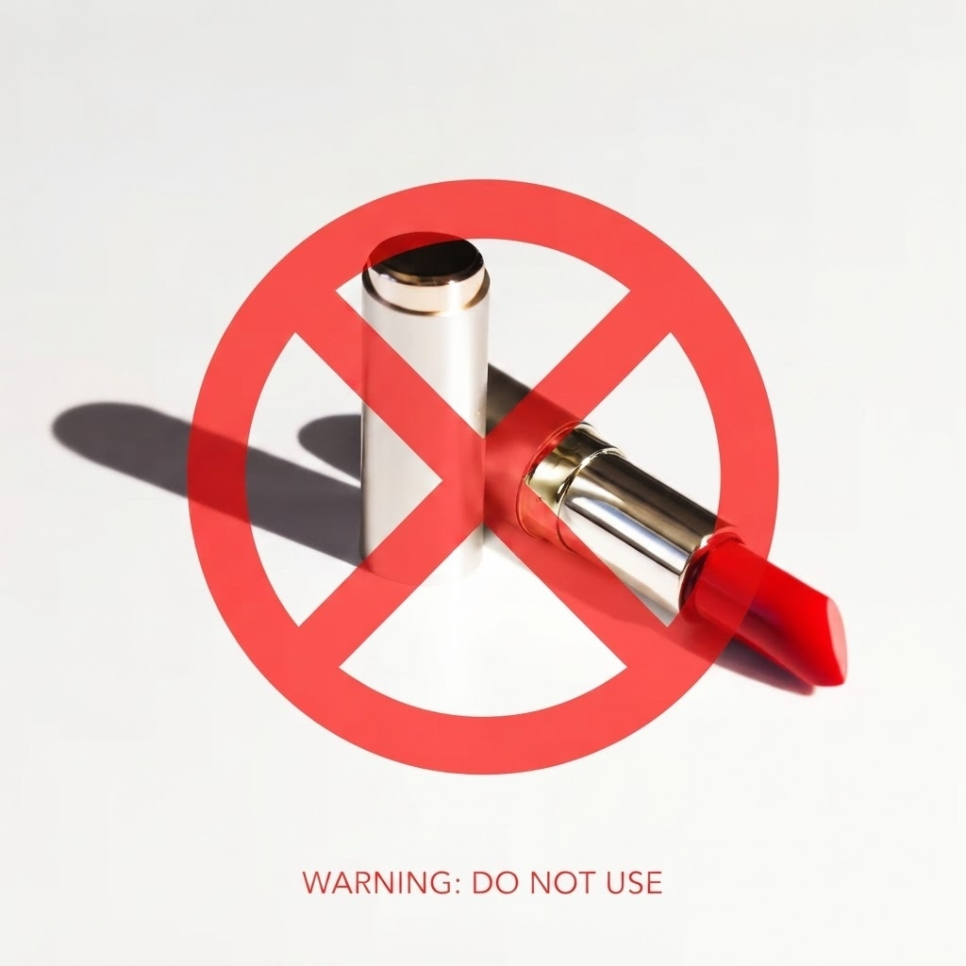
    It’s also best to avoid lipstick or other potentially irritating cosmetics until the area has fully healed.

    Even minor irritation can slow down the healing process.

    lip burn blister first aid image 4

    lip burn blister first aid image 5

    Checklist
    ✅ Don’t pop the blister with your fingers or puncture it with a needle
    ✅ Avoid lipstick and other irritating cosmetics
    ✅ Stop habits like applying saliva or picking at scabs
    ✅ Avoid hot, spicy, or salty foods that can irritate the area

    When should you see a doctor for a lip burn blister?

    If the blister covers a large area, or pain and oozing continue, it’s time to get a professional evaluation.

    Sometimes home care for a few days doesn’t help, and the wound keeps oozing instead of drying out.

    Yellow pus is a possible sign that an infection is developing.

    Key Takeaways
    ✔ If oozing doesn’t stop or you notice yellow pus, infection should be suspected.
    ✔ A professional diagnosis, rather than self-treatment alone, can help reduce the risk of scarring.

    lip burn blister first aid image 6

    In these cases, it’s safer not to rely on self-treatment alone and instead seek out a medical provider experienced with burns and skin wounds.

    With a proper diagnosis, treatments such as antibiotic ointment or wound dressing can help minimize scarring.

    I’ve seen real cases where people treated it as a minor wound, left it untreated, and the symptoms ended up getting worse.

    Early care matters especially for a sensitive area like the lips, where scars tend to form easily.

    If your lip burn blister covers a wide area or isn’t healing well, it’s worth having it checked at a medical facility with experience treating burns, such as Ansan Open Surgery Hospital.

    lip burn blister first aid image 7

    Caution
    ⚠ Don’t ignore heavy oozing or severe pain.
    ⚠ Visit a nearby medical provider for proper treatment.

    Frequently Asked Questions

    1. My blister popped on its own — what should I do?
    Gently clean the area with clean gauze or a cotton swab, then apply an ointment. Don’t force off any remaining loose skin.

    2. Can I put toothpaste or other home remedies on it?
    Traditional home remedies like this can introduce bacteria and cause infection, so they should be avoided entirely.

    3. What should I eat while it heals?
    Avoid hot, spicy, or salty foods, and stick to lukewarm, soft foods that won’t irritate the area.

    4. Can I use any burn ointment I have on hand?
    An over-the-counter wound ointment can generally be used, but if symptoms are severe, it’s safer to consult a doctor and use a product they recommend.

    5. How long does a lip burn blister take to heal?
    Mild cases often heal within 1–2 weeks, but this varies by person and depends on whether infection develops — if healing is slow, it’s best to see a doctor.

    lip burn blister first aid image 8


    References

    · Asan Medical Center Newsroom, “Don’t Use Ice on Burns,” Asan Medical Center. View source
    · Hidoc, “‘Don’t Pop the Blister’ — A Surgeon Explains Burn First Aid,” Hidoc. View source
    · MSD Manual Consumer Version, “Burns,” MSD. View source

    This article is provided for general health information purposes only and is not a substitute for individual diagnosis or treatment. If you have symptoms, please consult a medical professional.