Tag: Hyperpigmentation Prevention

  • Flat Iron Burn Scar: 15-Minute Golden Window First Aid & Prevention Guide

    Flat Iron Burn Scar: 15-Minute Golden Window First Aid & Prevention Guide

    SummaryFor a flat iron burn scar, the golden window is cooling the area under running cold water for 15 to 20 minutes right after contact. This guide covers the first aid steps, how to care for blisters, skin recovery habits that help reduce discoloration, and ways to prevent flat iron burns in the first place.

    You’re rushing to get ready in the morning, styling your bangs, when the hot plate of your flat iron brushes against the back of your neck.
    The sting only lasts a moment, but a few hours later the spot turns red, swells, and even blisters.

    It was just a light touch, so why does the mark linger so long?
    A flat iron burn scar starts with a split second of carelessness, but how deep the mark ends up depends heavily on what you do right after it happens.

    flat iron burn scar

    Key Takeaways
    To help reduce a flat iron burn scar, an important first step is cooling the area under running cold water for 15 to 20 minutes right after contact.
    Leave blisters intact and cover them with a clean dressing; once the skin has re-epithelialized, staying consistent with sun protection and moisturizing can help reduce discoloration and scarring.
    Flat iron plates can reach up to 215°C (419°F), so accidental contact is a risk not only while it’s in use but also right after you turn it off.

    Why Can a Flat Iron Burn Turn Into a Second-Degree Burn So Fast?

    A flat iron is a high-heat tool that can damage skin all the way down to the dermis with just a brief touch.
    A flat iron burn is thermal skin damage caused by momentary contact with plates or heating elements that reach roughly 150–200°C (300–390°F).

    When the Korea Consumer Agency measured the plate temperature of flat irons on the market, it found that the peak temperature during use reached 215°C (419°F).
    Even after the device was switched off, the plates stayed above 100°C (212°F) for about 5 minutes.

    That’s why an unguarded brush against the back of the hand or neck right after use can easily cause a burn.
    Thin-skinned areas like the face, neck, and back of the hand are especially prone to oozing or blistering because heat transfers to them faster.

    Flat iron burn scar illustration 2

    Flat iron burn scar illustration 3

    According to the Korea Consumer Agency, 200 of 268 burn injuries among children under age 10 — 74.6% — occurred on the hands and arms.
    Younger children, who are less able to sense and avoid danger, were more likely to be injured by directly touching or grabbing a hot flat iron.

    The plate’s peak temperature rose to 215°C, and it remained above 100°C for about 5 minutes even after the power was switched off.

    Based on these findings, the Korea Consumer Agency advised households with children not to put a flat iron away immediately after use, but to leave it somewhere out of reach until it has fully cooled down.

    Key Points
    ✅ The thinner the skin, the faster heat transfers and the deeper the damage tends to be.
    ✅ The first priority is identifying early on whether it’s a first-degree burn (epidermis only) or a second-degree burn (with blistering).

    What’s the Golden-Window First Aid for Reducing a Flat Iron Burn Scar?

    Cooling the burn for 15 to 20 minutes immediately after it happens can play a major role in how deep the resulting scar may be.
    Golden-window first aid means using running cold water right after a burn to remove residual heat and help keep the damage from spreading deeper into the dermis.

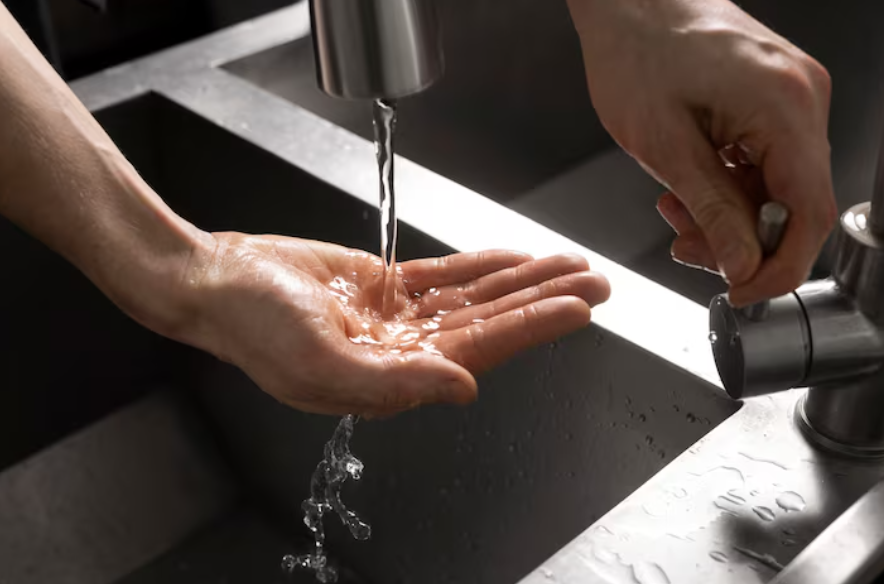
    Cool the burned area thoroughly under running cold water for at least 15 to 20 minutes, and do not pop any blisters.

    That’s how the Korea Disease Control and Prevention Agency (KDCA) describes it in the burn guidance on its National Health Information Portal.
    That said, if the burn covers a large area, it’s better to let water run evenly over it rather than submerging the whole body, to avoid the risk of hypothermia.
    Flat iron burn scar illustration 4

    Precautions
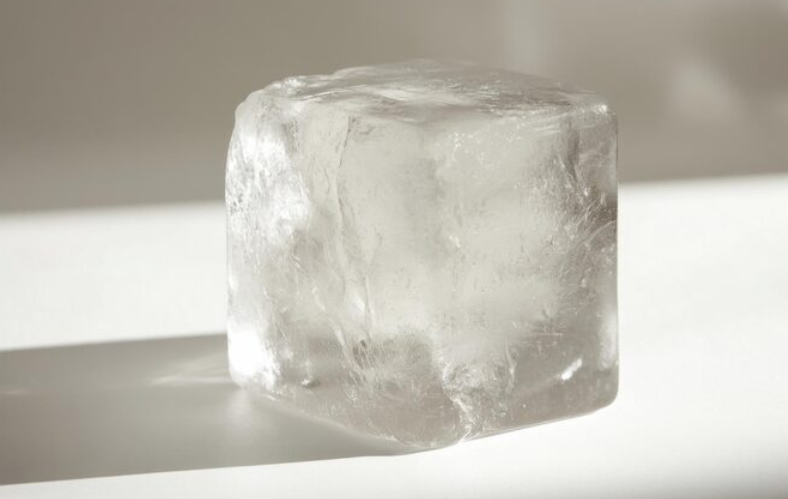
    ⚠️ Applying ice directly to the wound can irritate the tissue and worsen the damage.
    ⚠️ Avoid home remedies like toothpaste or soju entirely — they only increase the risk of infection.
    Flat iron burn scar illustration 5

    Checklist
    ✅ Cool the area under running tap water for 15 to 20 minutes
    ✅ Never apply ice directly or use home remedies
    ✅ Leave blisters intact and protect them with clean gauze
    ✅ Use a gentle, low-irritation foam dressing

    How Do You Manage Burn Marks and Discoloration for Scar-Free Healing?

    Care needs to continue even after re-epithelialization, when new skin has formed over the wound.
    Re-epithelialization refers to the process in which a new epidermis regenerates over damaged skin and the wound closes.

    According to Asan Medical Center, second-degree burns are classified as superficial or deep, depending on how far the damage extends.
    A superficial second-degree burn damages only part of the dermis and typically heals in about 2 weeks, while a deep second-degree burn affects most of the dermis, takes 2 to 4 weeks to heal, and can leave a scar.

    Type Depth of Damage Recovery Time Likelihood of Scarring
    Superficial second-degree burn Partial dermis About 2 weeks Low
    Deep second-degree burn Most of the dermis 2–4 weeks Possible

    If the skin is exposed to UV rays while it’s still red, melanin production can become overactive and leave a dark discoloration.
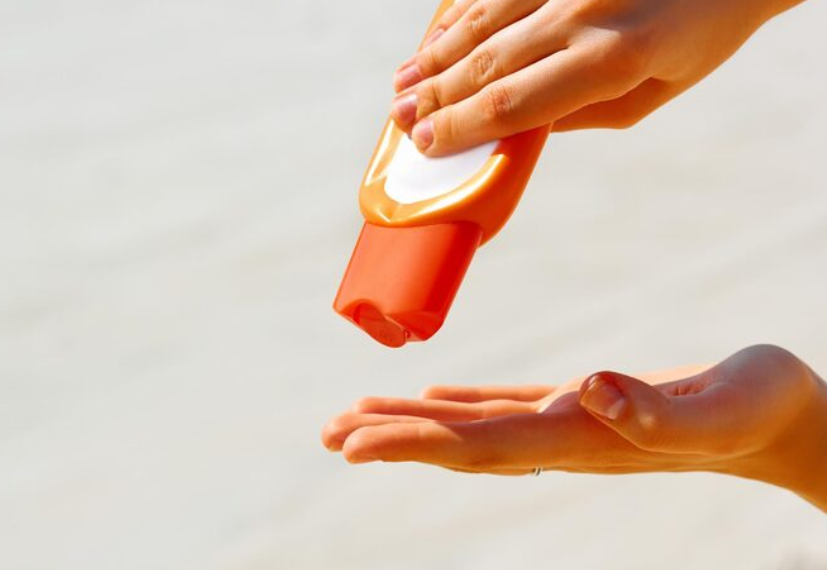
    That’s why it’s important to apply sunscreen thoroughly whenever you go outside and keep moisturizing consistently.
    Flat iron burn scar illustration 6

    Key Points
    ✅ Once the wound has fully closed, consistently using scar ointments or sheet-type care products can help fade marks.
    ✅ Keeping SPF 30+ sunscreen on throughout the healing phase can help lower the risk of discoloration.
    Recovery Care Guide
    · Wound stage: Absorb exudate and block bacteria (use a moist wound dressing)
    · Skin regeneration stage: Sun protection (SPF 30+) and continuous moisturizing
    · Maintenance stage: Use silicone-based products to help stabilize the tissue

    What Habits Help Prevent Flat Iron Burns?

    Preventing an accident in the first place matters far more than treating a burn afterward.
    Practicing the habits below can help lower your risk of ending up with a flat iron burn scar.

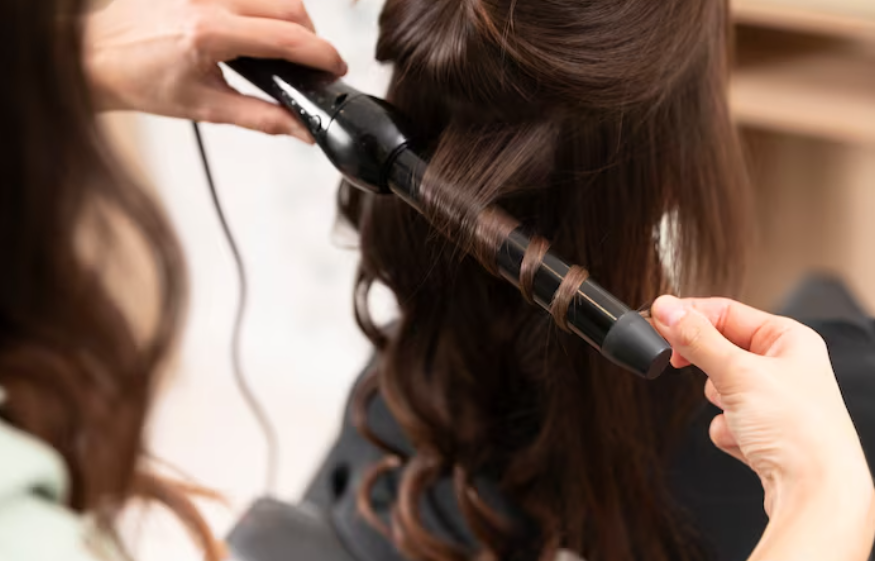
    1. Rest the flat iron on a silicone stand or mat while using it or letting it cool
    2. Wear a hair band, and heat-resistant gloves if needed, when styling near your neck or ears
    3. Set the temperature to 150–180°C (300–355°F) instead of an unnecessarily high 200°C+ (390°F+)
    4. Avoid rushed movements and make sure you have a clear view in the mirror before styling
    5. Unplug it right after use and keep it out of reach of children and pets
    Flat iron burn scar illustration 7

    If a mark has already developed or you’re unsure how to manage it, consulting a specialist is also worth considering.
    Burn Treatment Information — [Ansan Yeollin Surgery Clinic] Home has more information you can check out.


    Frequently Asked Questions

    1. What should I do if a blister has already popped?
    A popped blister carries a higher risk of secondary infection. Gently rinse it with tap water or saline, disinfect it, and keep the area clean with a moisture-absorbing wound dressing.

    2. Can a mark that’s already turned red still be managed?
    Redness right after re-epithelialization is a normal part of tissue regeneration. Applying sunscreen and moisturizer consistently during this stage can help reduce the chance of it progressing into discoloration.

    3. Is it okay to use aloe soothing gel from home?
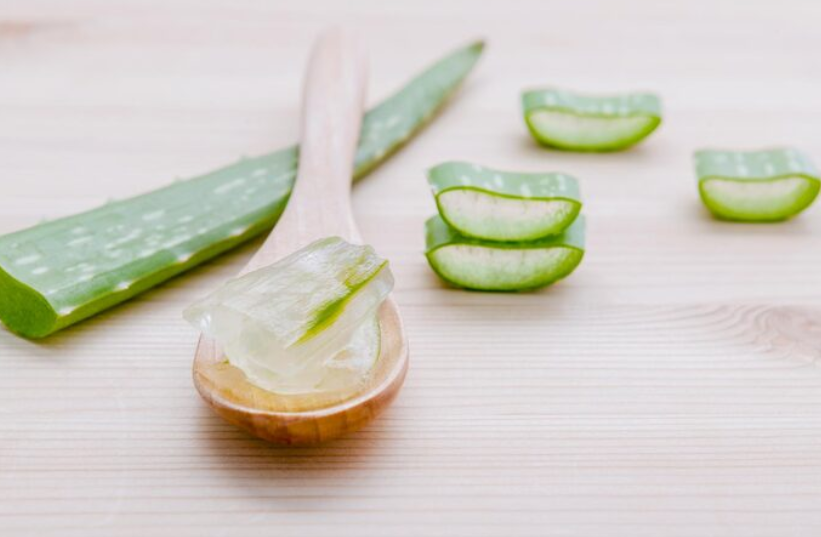
    It may help cool the area, but if the skin is still oozing or the wound is open, the ingredients can cause irritation or infection. Before the wound closes, it’s safer to use saline or a dedicated wound dressing.
    Flat iron burn scar illustration 8


    References

    · Korea Disease Control and Prevention Agency, “Burns,” National Health Information Portal. View source
    · Korea Consumer Agency, “Watch Out for Flat Iron Burns in Children,” Consumer Safety Information. View source
    · Asan Medical Center, “Burn,” Disease Encyclopedia. View source


    This article is intended to provide general health information and is not a substitute for individual diagnosis or treatment.
    If you’re experiencing symptoms, please consult a medical professional.

  • Appendectomy Scar Care: 3 Steps That May Help Prevent Discoloration

    Appendectomy Scar Care: 3 Steps That May Help Prevent Discoloration

    SummaryAppendectomy scar care depends heavily on how you handle the golden window right after your stitches come out. Here’s why scars can widen, the 3-step care routine by phase, and the daily habits that help prevent discoloration — all in one place.

    Even after your appendectomy stitches have fully healed,
    does the scar on your side still catch your eye every time you look?

    Two people can have the exact same surgery,
    yet one ends up with a scar that’s barely noticeable
    while the other is left with a red, thickened mark.

    That difference isn’t just about skin type —
    how you handle the days right after the stitches come out can matter too.

    When it comes to scar care,
    missing this early golden window often leads to a less-than-ideal result.

    Appendectomy scar care comes down to how you handle the golden window right after stitch removal, while your skin barrier is still rebuilding itself.

    This article walks through why these scars tend to widen, a 3-step care routine by phase, and the daily habits that help prevent discoloration.

    appendectomy scar care

    appendectomy scar care illustration 2

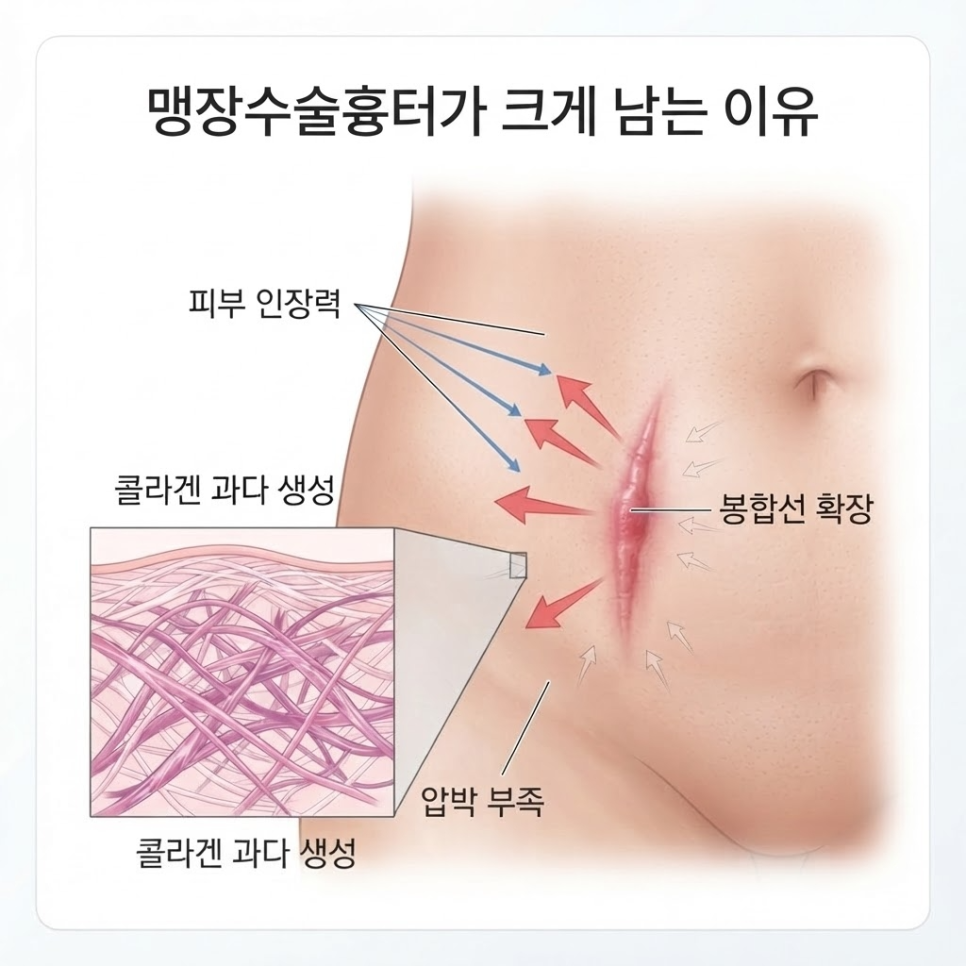
    Why do appendectomy scars often turn out larger than expected?

    The abdomen is an area where the skin is constantly being pulled,
    so without proper early care, a scar can end up wider than expected.

    An appendectomy scar is the natural mark left in the dermis as the incision site heals.

    Whether you had laparoscopic or open surgery, if collagen builds up excessively during healing,
    the mark can gradually thicken.

    On top of that,
    the abdomen is a spot where skin tension is especially strong,
    so frequent movement keeps pulling at the wound as it tries to close.

    appendectomy scar care illustration 3

    Without proper protection at this stage,
    the skin on either side of the incision line can stretch, widening the red mark.

    If hydration and physical support aren’t in place early on,
    the risk of the scar raising into a thicker, more visible ridge also increases.

    appendectomy scar care illustration 4

    💡 Key point
    Because the abdomen is under constant skin tension, how you care for it in the first few days after stitch removal is considered an important factor that can affect the eventual width and color of the scar.

    How should appendectomy scar care change over time?

    It can help to split recovery into three phases and adjust your care approach for each one.

    Appendectomy scar care is typically broken into three stages: right after surgery, after stitch removal, and one month and beyond.

    Phase Main Goal Care Method
    Right after surgery Prevent infection, keep the area moist Keep the wound disinfected; keep it fully waterproof
    After stitch removal Ease tension, block irritation Silicone gel products, protective tape
    One month and beyond Prevent hyperpigmentation Apply sunscreen thoroughly

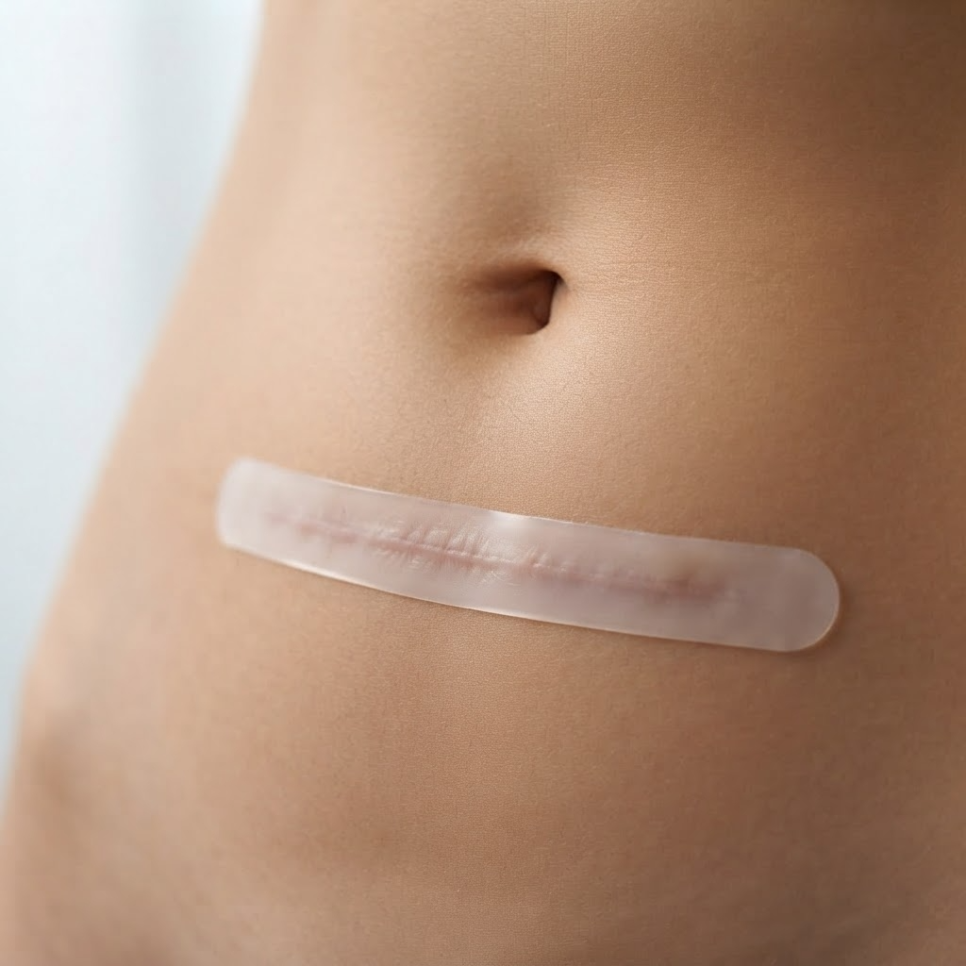
    Starting right after your stitches are removed, it helps to apply silicone-based products or protective tape
    so the area isn’t irritated.

    Irritation that reaches the dermis can lead to hyperpigmentation,
    so keeping the area consistently covered and moisturized is essential.

    appendectomy scar care illustration 5

    📋 Phase-by-phase care checklist
    ✅ Right after surgery: keep the wound disinfected; keep it fully waterproof so water doesn’t touch it directly
    ✅ After stitch removal: ease tension with silicone gel products or patches
    ✅ One month and beyond: prevent hyperpigmentation with sunscreen
    ✅ At every stage: don’t pick at scabs

    What daily habits help prevent scar discoloration?

    Even small changes to your daily habits can go a long way toward keeping a scar from darkening.

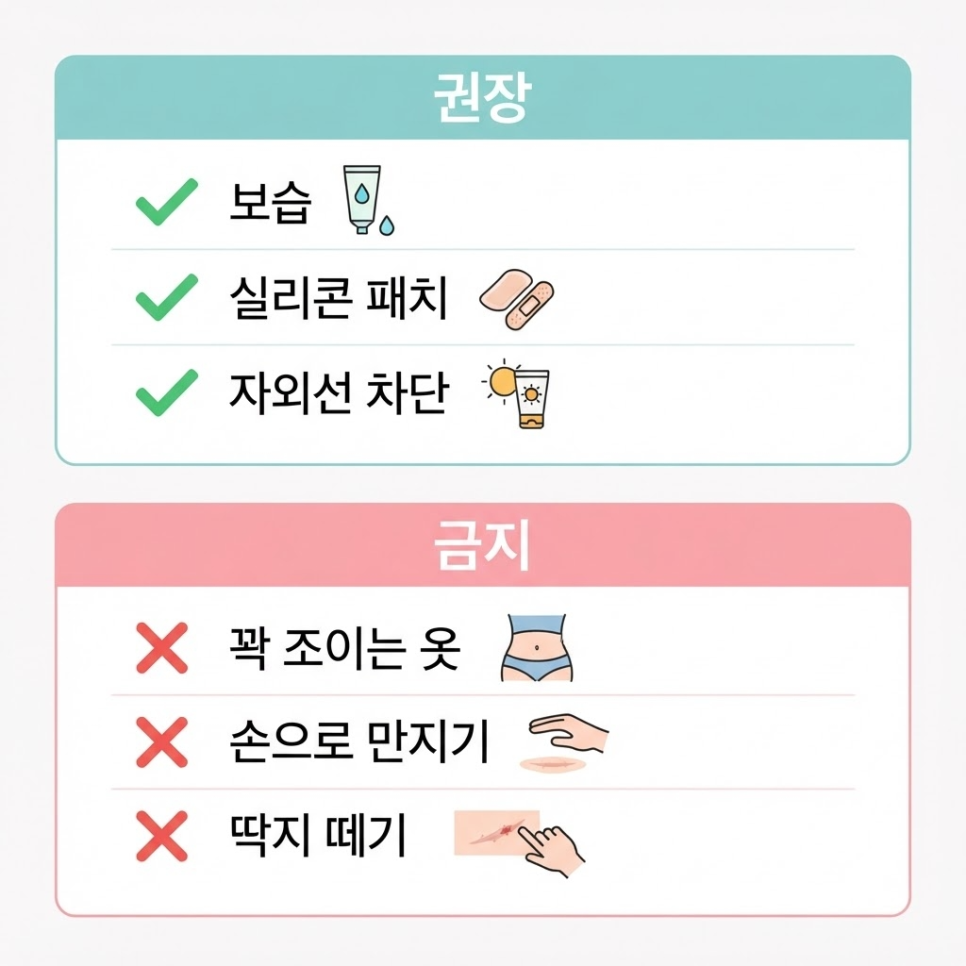
    Reducing two triggers — friction and UV exposure — can help prevent discoloration.

    Tight-waisted pants or leggings
    can speed up discoloration through constant friction, so it’s best to avoid them.

    Also,
    UV rays stimulate melanin production,
    which can turn a red mark into a darker, brownish one.

    So,
    when you’re outdoors, even if the scar is covered by clothing,
    it’s a good idea to apply a light layer of sunscreen underneath.

    appendectomy scar care illustration 6

    ⚠️ Caution
    Repeatedly touching the wound or forcibly picking at scabs can raise the risk of secondary infection and progression into a hypertrophic scar.
    💡 Key point
    Cutting down on just these two triggers — friction and UV exposure — may help slow how quickly a scar discolors.

    If, despite consistent care, a scar stays red and hard for a long time,
    self-care alone may not be enough.

    In that case, it’s safer to get an accurate diagnosis
    from a hospital that specializes in scar and burn scar treatment.

    👉 Visit the Ansan Open Surgery Hospital website, a burn treatment specialist, for more information.

    appendectomy scar care illustration 7


    Frequently Asked Questions

    1. When should I start caring for a surgical scar?
    Once the skin has fully closed, right after the stitches come out, using a dedicated silicone product can help support stable healing.

    2. Is it okay that the mark looks red and raised?
    Some temporary redness or puffiness is normal during early tissue repair, but if it keeps swelling, it needs professional evaluation and care.

    3. Can I use soap on it right away when showering?
    Once the scab has come off and the wound is fully closed, gentle rinsing with water is fine, but avoid scrubbing or any harsh friction.

    4. Which is better — ointment or a silicone patch?
    For a high-friction area like the abdomen, a silicone patch is useful because it reduces physical tension; depending on the area, combining it with an ointment can also work.

    5. If the scar becomes hard and lumpy, do I need to see a doctor?
    If it hardens or keeps growing in size, it could be progressing into a hypertrophic scar or keloid, so it’s better to see a specialist rather than rely on self-care alone.


    References

    · Seoul National University Hospital, “How to Manage Scar Treatment,” Hospital News, 2014. Read more
    · Yakup Gongnon (Pharmacist News), “All Pigmented Scars Require Both Treatment and Sun Protection,” Yakup Gongnon, 2016. Read more


    This article is intended for general health information purposes only and is not a substitute for individual diagnosis or treatment. If you have symptoms, please consult a specialist.